I have officially lost track of how many skirts I have made in the past year, but here is a new one! With ruffles!
Measure your girl. The girl I made this for has a waist of 62cm. Then, from her waist to her knees she measured at 34cm.
I got 1 yard of fabric.
Laid it out on the floor, folded in half.
Measured two 24cm wide strips and one 14cm wide piece. The fourth piece went to my scrap pile.
The first thing I like to do is serge the one edge of the less wide piece, that is my top piece. Set aside. (You could do this later. I choose to do it first because I love my serger :) )
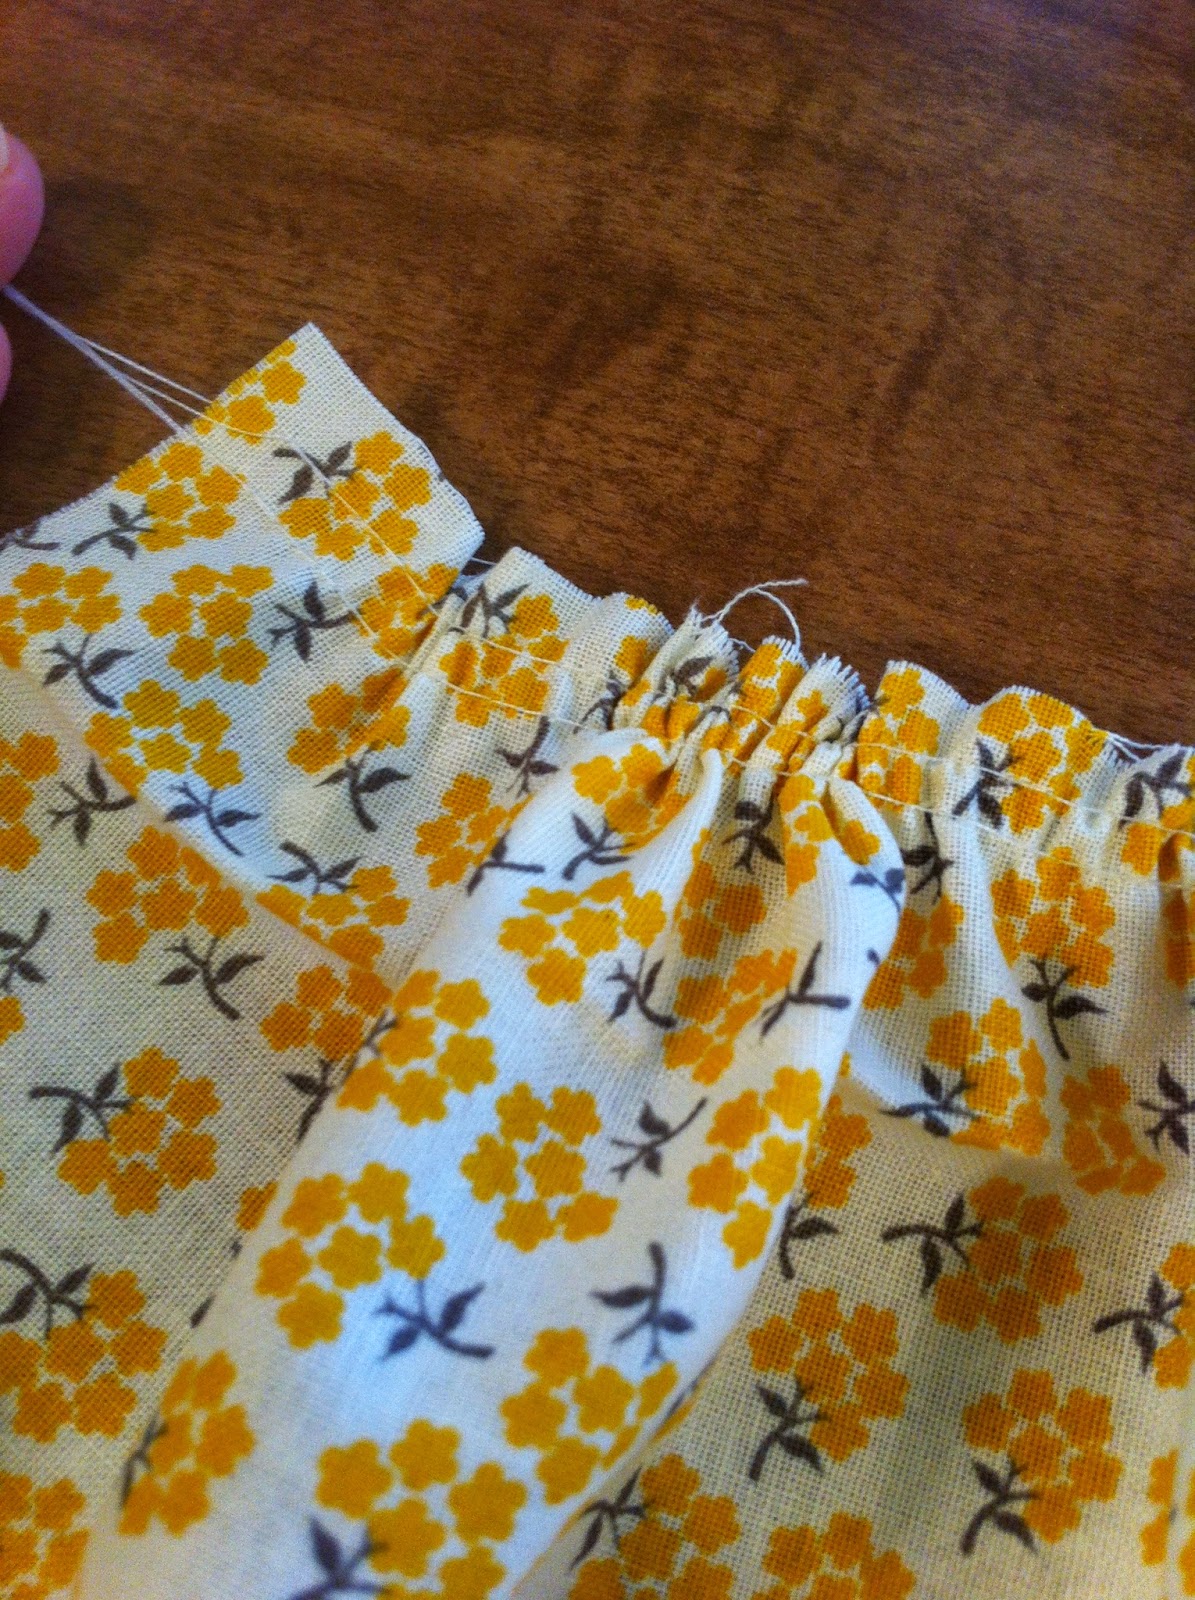
Next, we gather.
Take one of your wider pieces and straight stitch with a long stitch. Then sew another straight line just under that, leaving your ends long. Take those ends and pull to make the gather. Tie your ends!
Do this on both pieces of your wider fabric. Depending on the measurements of your girl, this may differ but for the girl I was sewing this for, I gathered each piece until it measured about 16-17 inches. I know I go back and forth on my cm and inches! My measuring tape is from my Swedish grandmother and my measuring/sewing boards are from WalMart :)
Anyhow, pin the two gathered pieces of fabric and serge the side seams.
Now take the smaller piece, with the one edge serged, and pin to the ruffled edge.
Note: there will be an extra amount of fabric length, I allow it because sometimes the ruffles shift or the thread breaks. Having that extra bit of fabric guarantees that it will all come together and match and I won't be left with too little fabric length to complete the project.
Once I have pinned the smaller piece of fabric to the ruffled skirt up to the point where seams meet, I cut off the extra fabric, serge the seam on the smaller fabric making it a loop/circle, and finish pinning it onto the ruffled skirt.
Serge the pinned seam.
Looking cute so far!
Next is the elastic. Fold down the top and depending on the width of your elastic (I am using 3/4in non roll elastic) pin so there is enough room to thread your elastic through.
Don't forget to mark your opening, usually near the side seam.
Note: The waist measurement is 62cm. I stretch the elastic to what I think would be a comfortable fit. I usually cut the UN-stretched elastic about 10cm less than the measurement I am going for.
Sew the tunnel with a straight stitch, thread your elastic through, sew your elastic using zigzag back and forth and sew closed with a straight stitch.
You could stop here, hem your bottom and be done with an adorable skirt....but for this particular fabric I really wanted to add lace to the bottom. I LOVE LACE!
This lace already had a clean edge so I just pinned it to the already serged bottom hem, and with a straight stitch sewed it on.
It ended up being a thick seam so I pinned it down and sewed another straight stitch.
ADORABLE!
Here is my client :) She probably would have smiled if my two year old wasn't screaming his head off! LOL
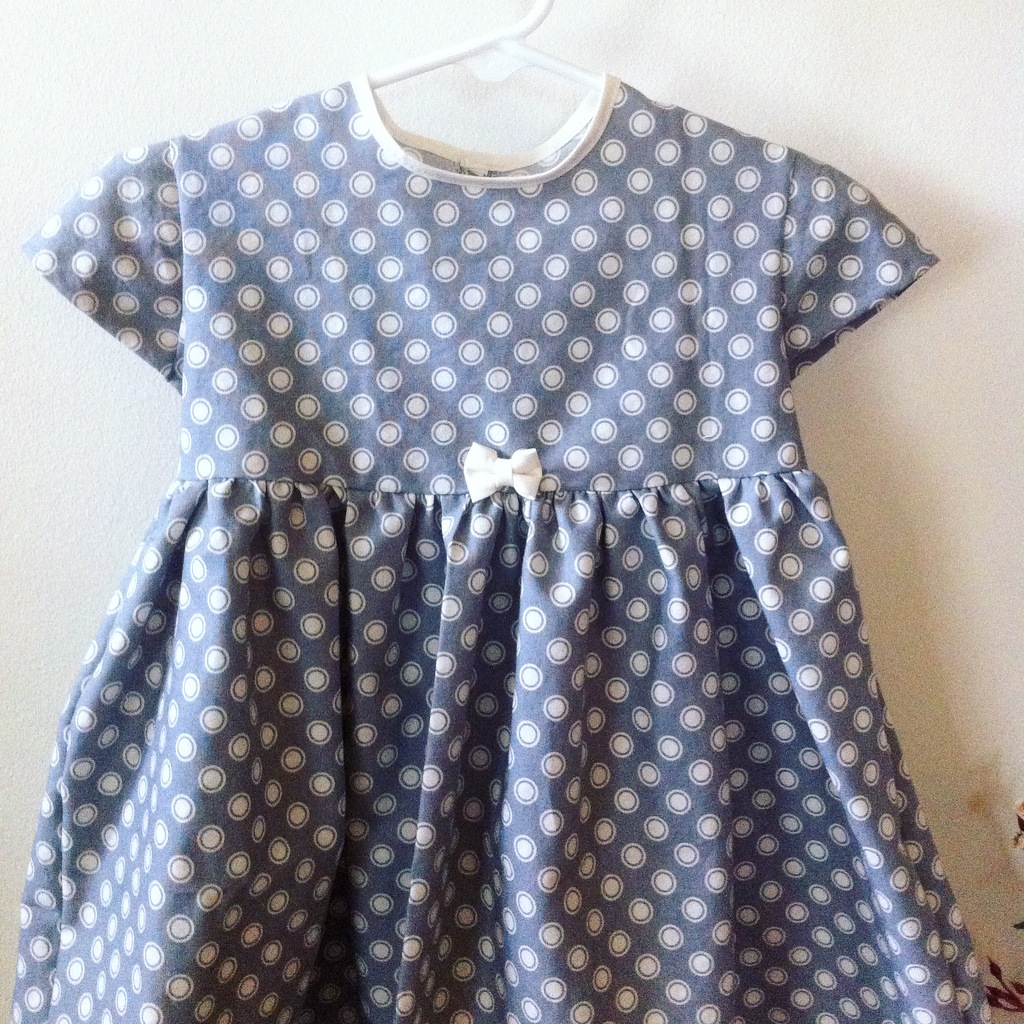
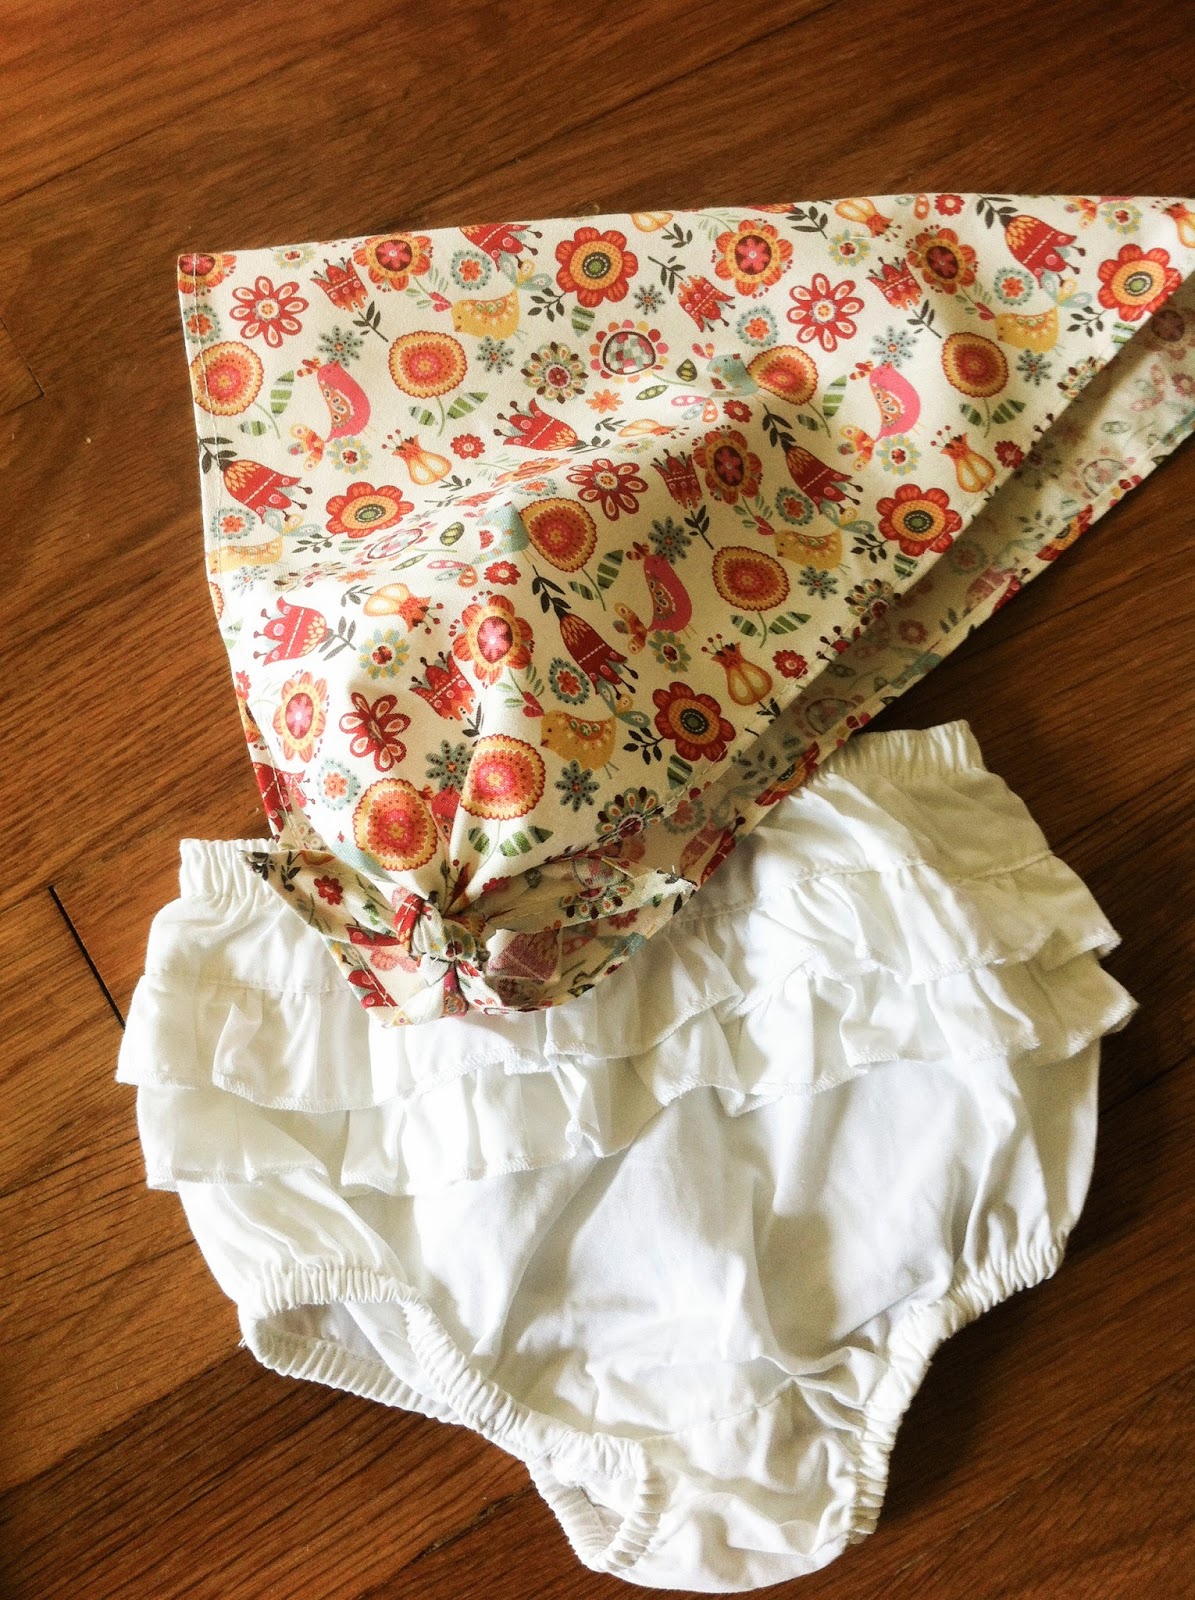
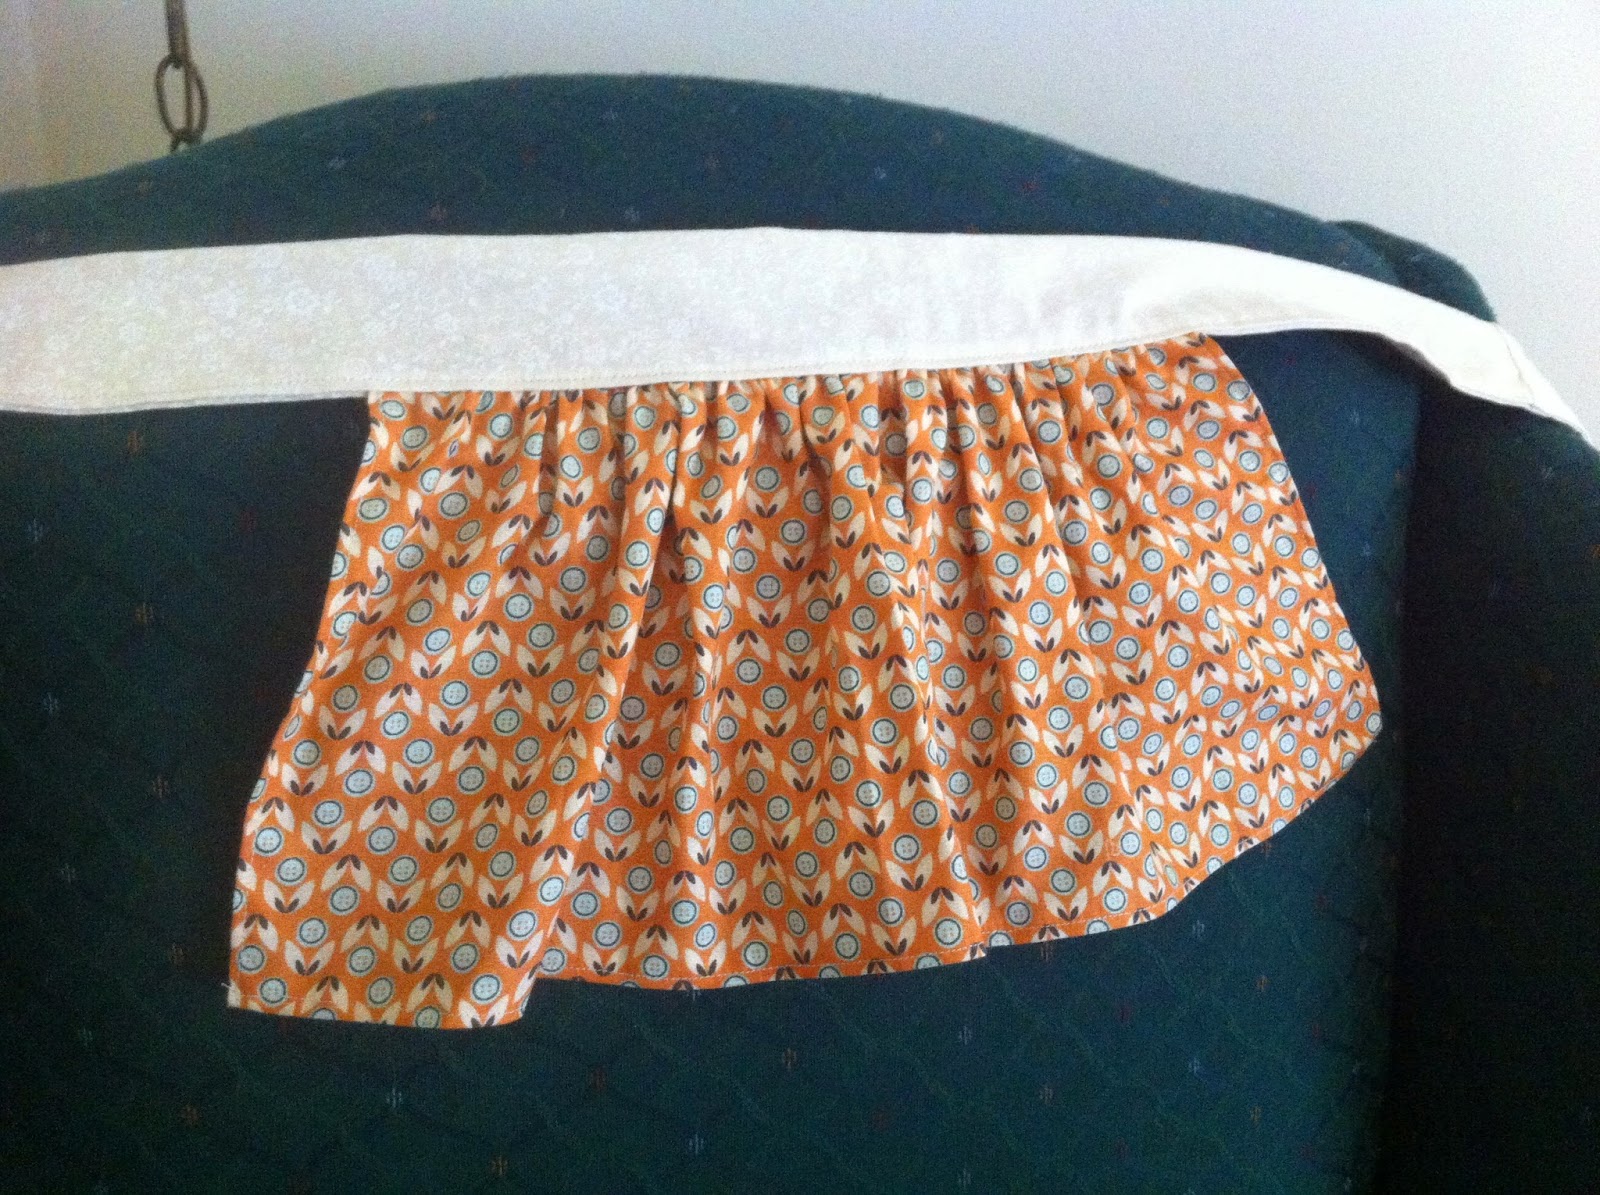
With this ruffled skirt pattern, here are a few more I made in baby sizes:
Thanks for stopping by! xx